Milk Jug Gardening – I have to admit that when I first heard about this, it really intrigued me! Both my husband and I love gardening and we have gardened in just about every house we’ve ever lived. Usually, he works with the vegetable garden while I concentrate on the flower gardens. This past year, when I first heard about milk jug gardening on a gardening radio show I was listening to, it sounded so interesting that I decided to give it a try.
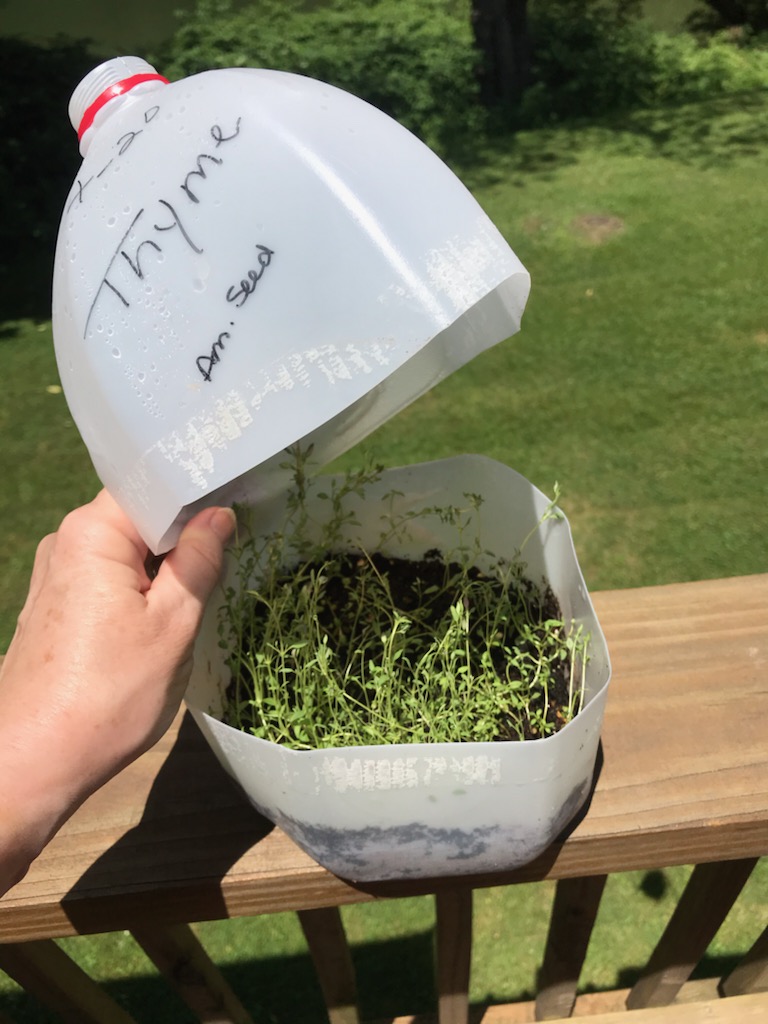
Herbs grow great in milk jugs too!
Part of the process that attracts me is that I can begin the seed gardening process very early outdoors while it’s still winter and not have to wait until warm weather hits. I really like this feature because usually by the time warm weather begins, my list of outdoor things to do is very long and I have to try to squeeze in the time to begin gardening prep.
So let’s get started and I’ll show you how to milk jug garden and you’ll see why it’s so fun!
Milk Jug Gardening Supplies
Gallon milk jugs are usually fairly plentiful in most homes, especially if you have kids! So begin around the first of the year to save your empty milk jugs. Make sure to wash them out so they are clean and you will not need the cap. The other supplies for milk jug gardening are a bag of good quality potting soil, packets of seeds that you want to plant, duct tape and a permanent marker.
I find that tomatoes, herbs, and green peppers do really well in milk jugs. But you can actually plant just about anything from seed including other kinds of veggies and flowers.
Now For The Fun Stuff!!
First, with a utility knife or pair of sharp scissors, starting about 1/3 up from the bottom of the jug, cut around the diameter of the milk jug taking care NOT to cut it completely in half. I like to leave an inch or so intact just under the handle area. This allows the top 2/3rds of the jug to act as a lid on a hinge.
Second, fill the bottom of the milk jug with potting soil leaving about an inch or so below the cut edge. I like to use a good quality potting/garden soil that has some fertilizer mixed in. That way the tender seeds receive nourishment to grow right from the start. Then, sprinkle the seeds across the top of the soil. If you have chosen a variety that has a lot of seeds in the packet, you can split the seeds between 2 or 3 milk jugs. Sprinkle about 1/4 inch of soil on top of the seeds and lightly water, being careful not to move the soil. Gently pat soil without packing it down.
Time To Close Them Up
Third, cut a piece of duct tape long enough to go completely around the perimeter of the jug and overlap by several inches. Then, fit the top of the jug back into place and seal the cut with the duct tape all the way around.
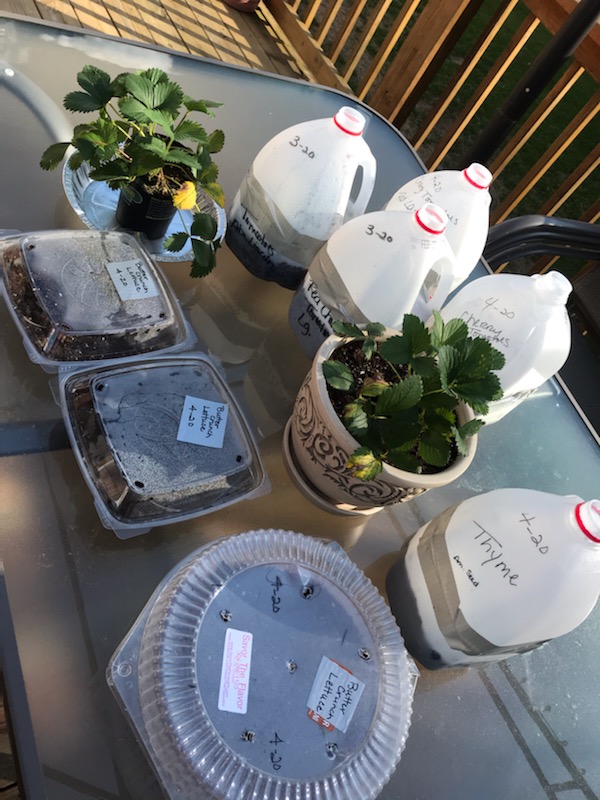
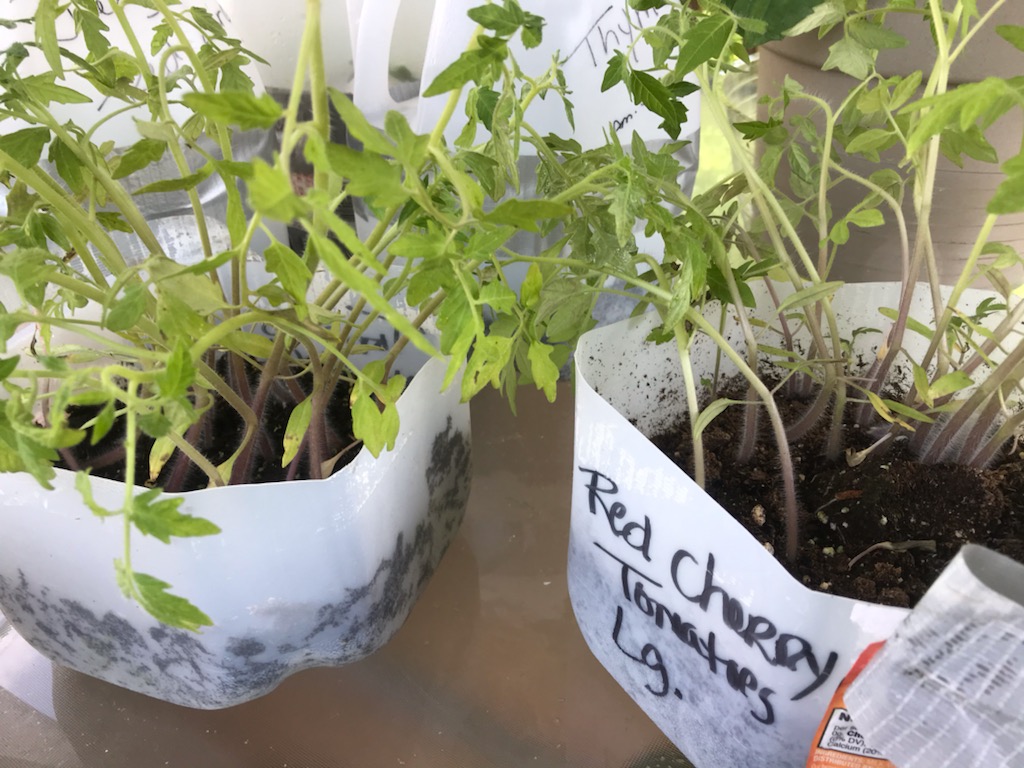
Lastly, on the outside, use the permanent marker to write the name of the seeds you have planted on each jug along with the date they are planted. You may also want to list the brand of the seed packet. I like to clip the seed packets together and save them in case I need to refer to them at a later date. But you can also write the information right onto the jug if you wish. In choosing your seed packets, you may pick up the same vegetable or flower but from 2 different companies.
You can see from my picture that I used 3 other types of plastic containers with lids. I chose to try lettuce in these. They did fairly well but next time I will plant them in the more insulating milk jug. But give it a try depending on your climate!
Letting Mother Nature Do Her Work
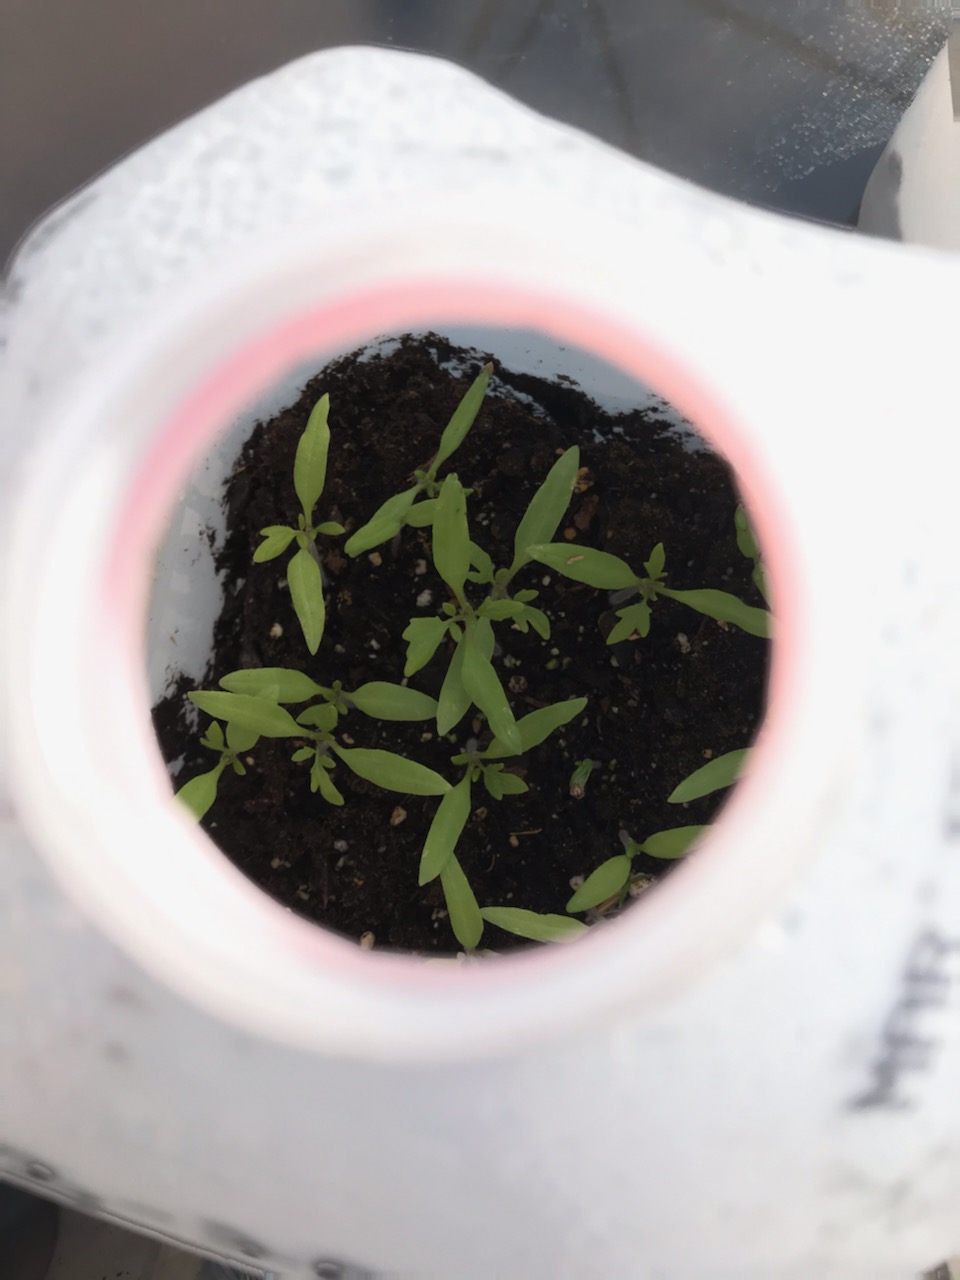
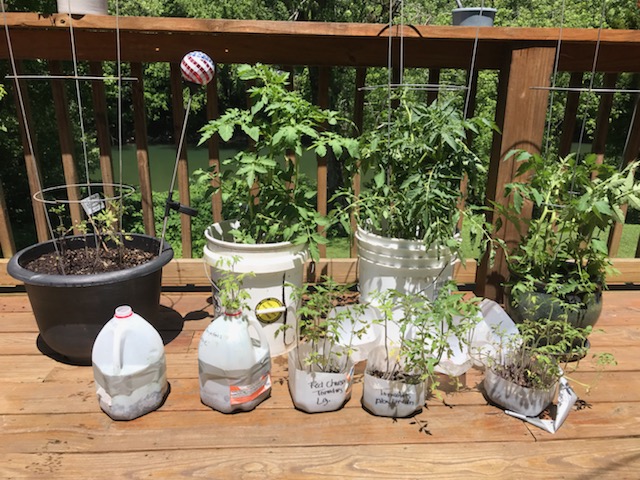
You can place your newly planted jugs outdoors in any space that works for you. We have a deck so my milk jug planters stay on the deck next to the brick of the house. But they could also sit on a porch or even on the side of a garage. The open neck milk jug acts as a greenhouse for the seedlings as they grow. And it doesn’t take long before you start seeing those little green shoots begin to peek out of the soil!
Don’t worry about snow falling into the open neck. It will help add a little moisture to the soil and the plastic jug helps to provide insulation from freezing the tender shoots that are growing inside. I usually check on each jug once or twice a week to make sure the soil is staying moist but not wet. The first year I planted this way, I didn’t have to add any extra water until the weather began to warm up in later April/early May before it was time to transplant to their summer home.
When normal planting time for your zone comes, you will find that the tender plants are crowding through the open top of the milk jug. Then you can prepare your pots or garden as normal. You will be able to separate your seedlings and plant into more than one pot if you are container gardening. All the tomato seeds that I plant get divided into usually 4-5 containers per milk jug.
Now For The Harvest!
I also find that starting my seeds this way tends to make stronger, healthier plants! A huge bonus! I also find that they tend to produce a bigger harvest. Now, I am not sure why that happens; but my guess is that starting the seeds during cold weather forces them to grow stronger under harsher conditions (even though they are protected in the jug) than if they are store bought as small plants and repotted at home. This may not make sense to a farmer but it’s the only thing that I can think of as to why my harvest has been bigger with this method. And we have been home gardening for over 30 years!
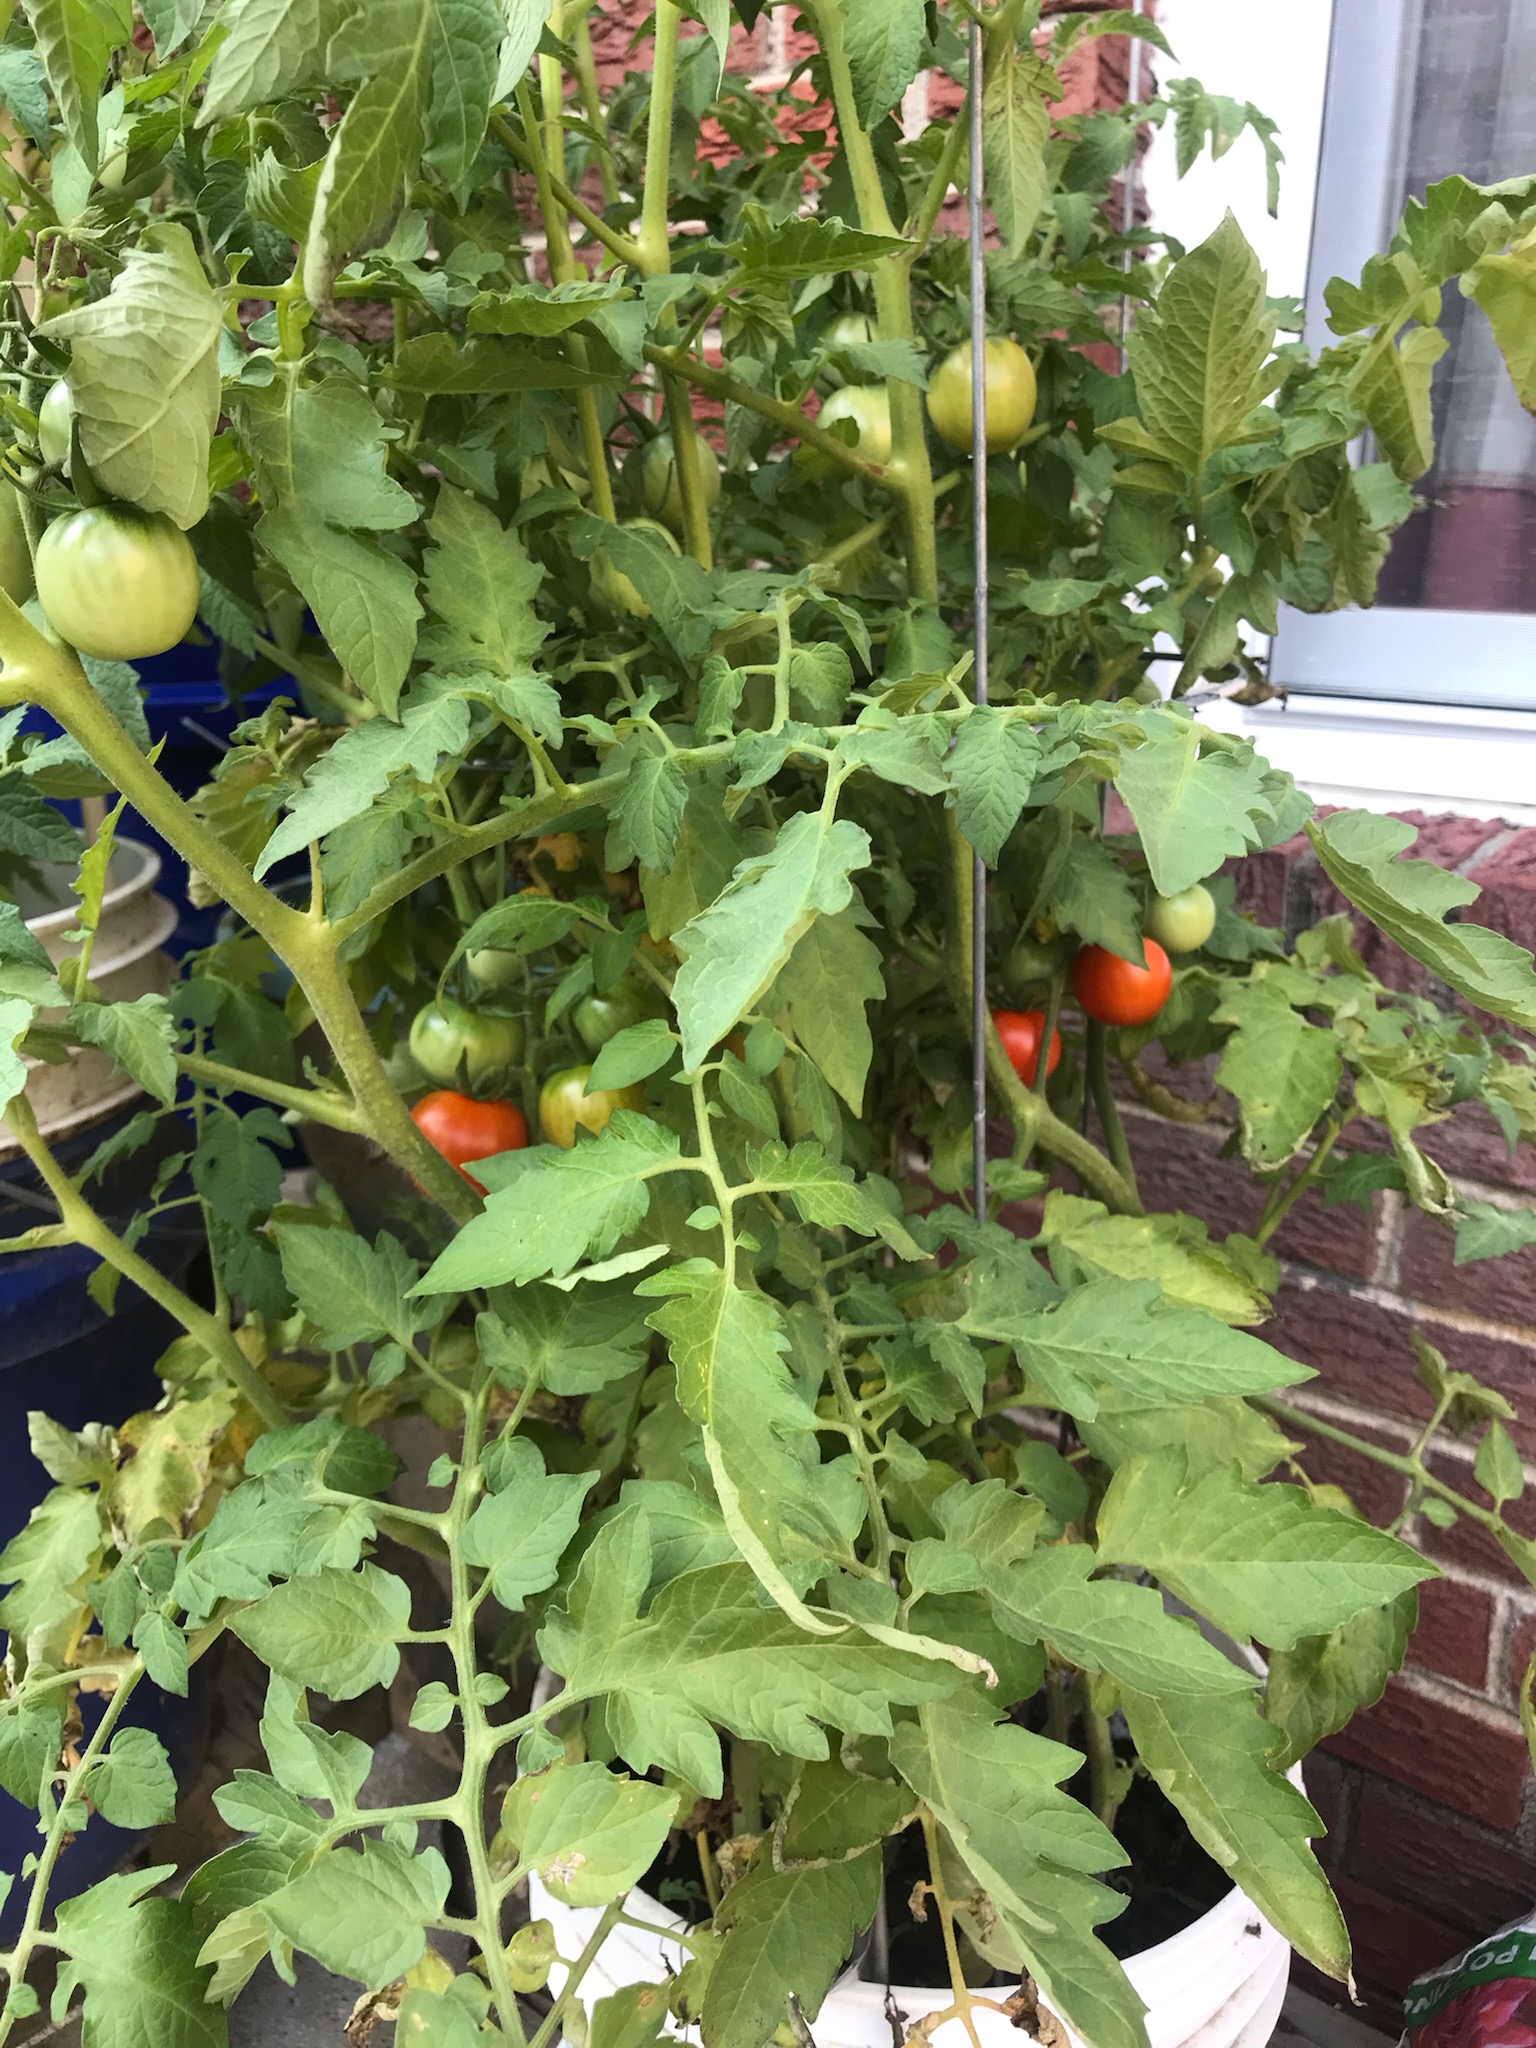
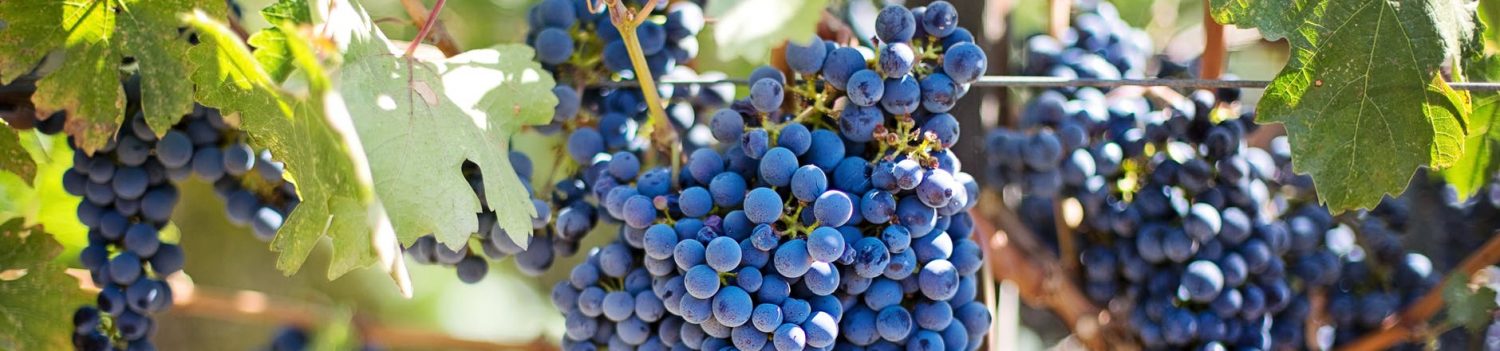
Just look at these beauties in the picture to the left! And this kind of harvest went on all summer long for us! So I encourage you to experiment yourself with different seeds that draw your interest. It’s fun and rewarding when you eat those delicious, sweet tomatoes and peppers!